4 min read
How to run a new Laravel application on Homestead
Learn how to set up and run a new Laravel application on Homestead. This guide will walk you through the entire installation and configuration process.

In today's article, I will focus on creating/installing a new Laravel application in a local environment.
Prerequisites
- Windows 10
- Installed Laravel Homestead (Vagrant + VirtualBox)
- Laravel Installer
In Brief
Before we look step by step at how to install a new Laravel application in Windows 10 using Homestead and the installer, let's create a small roadmap:
- Set up the hosts file
- Configure Homestead
- Start a new installation using the installer
- Launch Homestead with the new configuration
Setting Up the Hosts File
There are several ways to edit files, from using the command line to using something as simple as Notepad. We don't need to play professionals, so Notepad will suffice (wink wink).
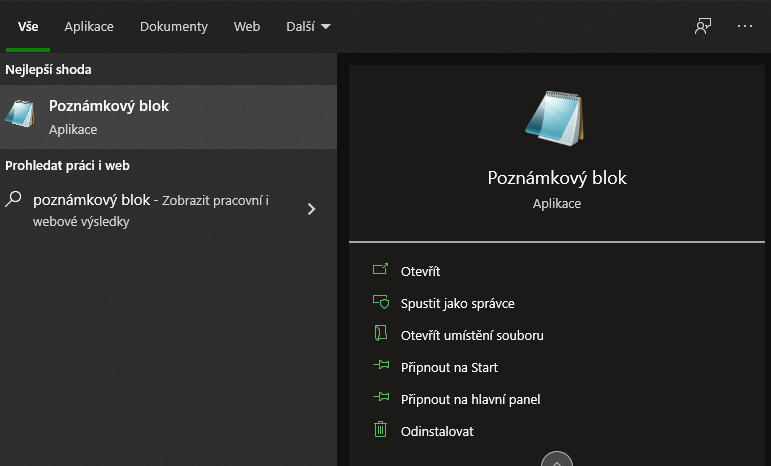
So, we open Notepad with the "Run as administrator" option.
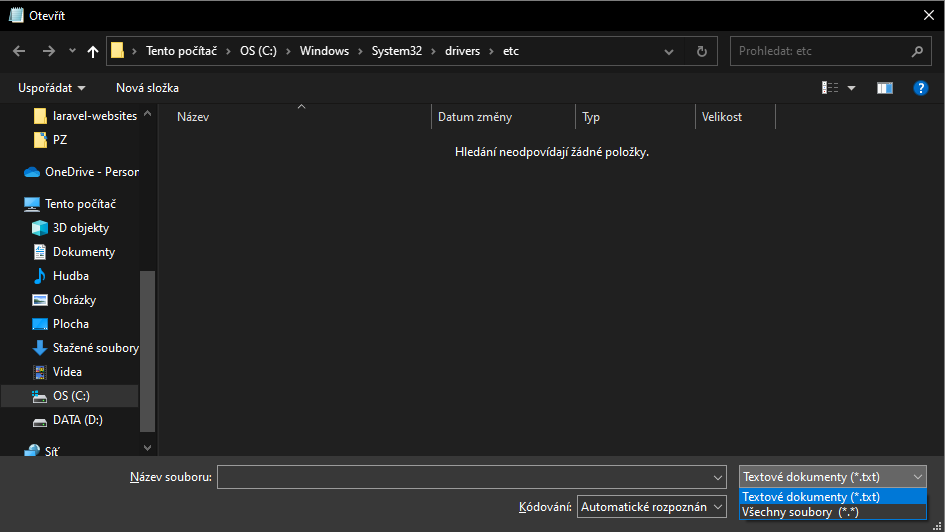
In Notepad, we choose File->Open… (CTRL+O) and go to the folder "C:\Windows\System32\drivers\etc". Remember to display all files if you only see .txt files (or see nothing, like me):
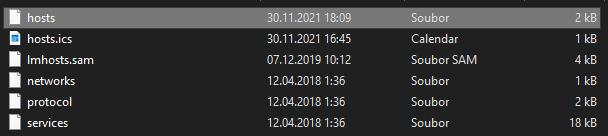
We see all the files in the folder and open the "hosts" file.
Now we add:
...
192.168.10.10 your-laravel-application.test
...
Thus, we have mapped the IP address of our future Homestead to a URL. If we enter the URL into the browser later, the requests will be directed to Homestead – let's set it up.
Setting Up the Homestead.yaml File
Go to the folder where you have Homestead installed (in my case "C:\Users\***\Homestead") and open (again you can in Notepad without the need to run the file as an administrator, or in your favorite IDE) the Homestead.yaml file.
Take a look at an example of what your Homestead.yaml could look like.
---
ip: "192.168.10.10"
memory: 512
cpus: 1
provider: virtualbox
ssl: true

authorize: c:/Users/***/.ssh/your-public-key.pub

keys:
    - c:/Users/***/.ssh/your-private-key.ppk

folders:
    - map: d:/laravel-websites
      to: /home/vagrant/code

sites:
    - map: your-laravel-app.test
      to: /home/vagrant/code/your-laravel-app.test/public
      php: '8.0'

databases:
    - your_db_to_application

features:
    - mysql: false
    - mariadb: true
    - postgresql: false
    - ohmyzsh: false
    - webdriver: false

# ports:
#     - send: 50000
#       to: 5000
#     - send: 7777
#       to: 777
#       protocol: udp
Several things are worth noting, let's take a look at them.
- IP address – the same one we used in the hosts file
- folders – we need to map where the application is located. In my case, I use the "D:\" drive, in which I have a "laravel-websites" folder. This entire folder gets to Homestead under "/home/vagrant/code".
- databases – we can directly create a db for our application
- additionally, I showed how you can access Homestead under SSH.
Installing Laravel Using the Installer
Now we know on which URL we will build the application. We also know that if we enter the URL into the browser, we will get to Homestead thanks to the mapping. Homestead is then configured to download content from the local "D:\laravel-websites" folder and place it in "/home/vagrant/code". However, we also know that we are specifically looking for /home/vagrant/code/your-laravel-app.test/public. So we need to install a Laravel application.
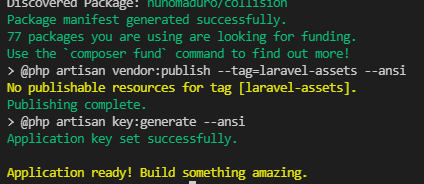
So, we go to "D:\laravel-websites" using the command line and run:
laravel new your-laravel-app.testAfter completion, the result should end up something like this:
Launching Homestead with New Configuration
Now we need to start Homestead including our new configuration. So, go to the location where you have Homestead installed (in my case "C:\Users\***\Homestead") in the command line and run:
vagrant up --provisionAlternatively, if you already have Homestead running, you can use (so you don't have to turn off Homestead via "vagrant halt")
vagrant reload --provisionIt's important that the --provision switch is used, which launches Homestead with the new configuration.
TIP
If you want to log into Homestead using SSH, just run from the installed folder with Homestead:
vagrant sshThen you can get to your application:
cd code/your-laravel-app.testIn Homestead, in the project folder, you can perform various commands (migrations, generation of assets, installation of packages, etc.).
In Conclusion
Now you just need to add the project to your IDE and edit the .env file. Once you configure it, you can enter the URL of the project in the browser and see the new Laravel application. Then just create something great.